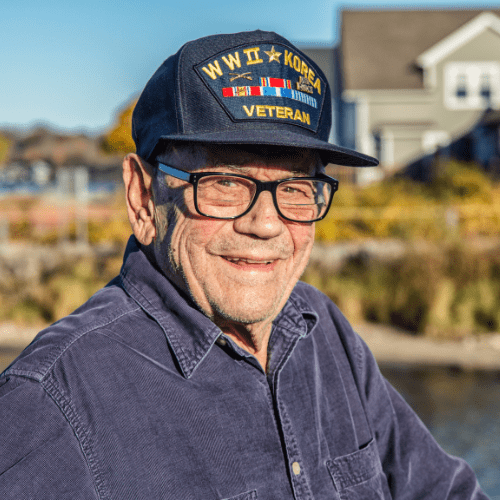
As the founder of Thomas J. Manzi PC, Tom Manzi has brought over 20 years of expertise responding to emergency and crisis. Whether serving as an EMT-CC or serving in the US Army Soldier and Combat Engineer, Tom has dedicated his life, and now his firm, to helping others during and through times of crisis. Uniquely experienced to handle situations with a level-head and a logical approach, Tom has empathy and compassion for his clients while helping to guide them to make difficult, complicated or challenging decisions for themselves, family members and loved ones. As a Veteran, Tom continues to give back and he participates with various organizations in support of Veteran’s Rights. He has been a volunteer fire fighter and often provides advice to fellow Veterans with matters relating to estate planning, Veteran’s Rights, Elder Law and Medicaid.
In big and small ways, our firm is dedicated to giving back to the community.
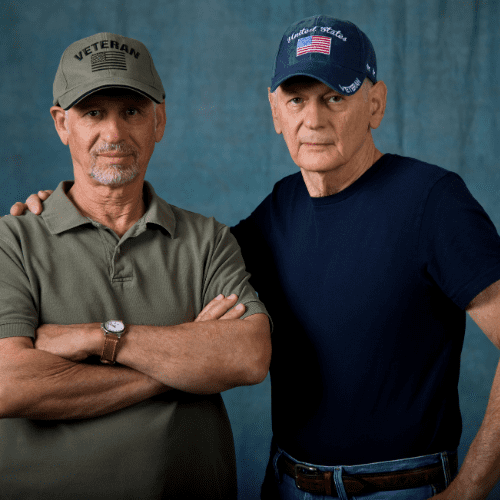
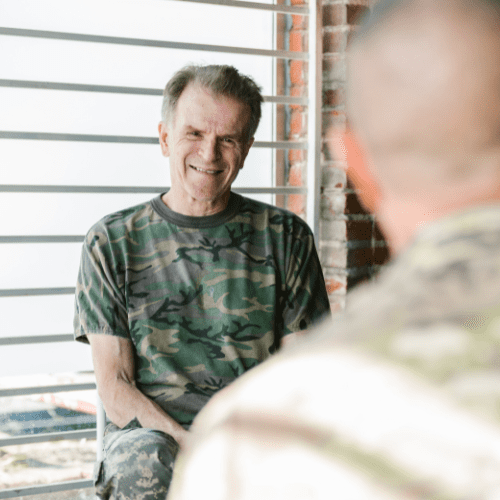
The Law Offices of Thomas J. Manzi, PC are pleased to serve as an asset for veterans and direct them to free services when appropriate. The Veteran’s Rights Project is on a mission to connect veterans with attorneys and organizations that can help them through any legal or benefits issues they may have.
Have a question? We’re here to help!
We are committed to helping our Veteran’s and community members. Call to discuss any legal matter that you are facing and we’ll do our best to guide you to the appropriate resources and help.